
How To Make Fluffy Cinnamon Rolls

How to Make Fluffy Cinnamon Rolls
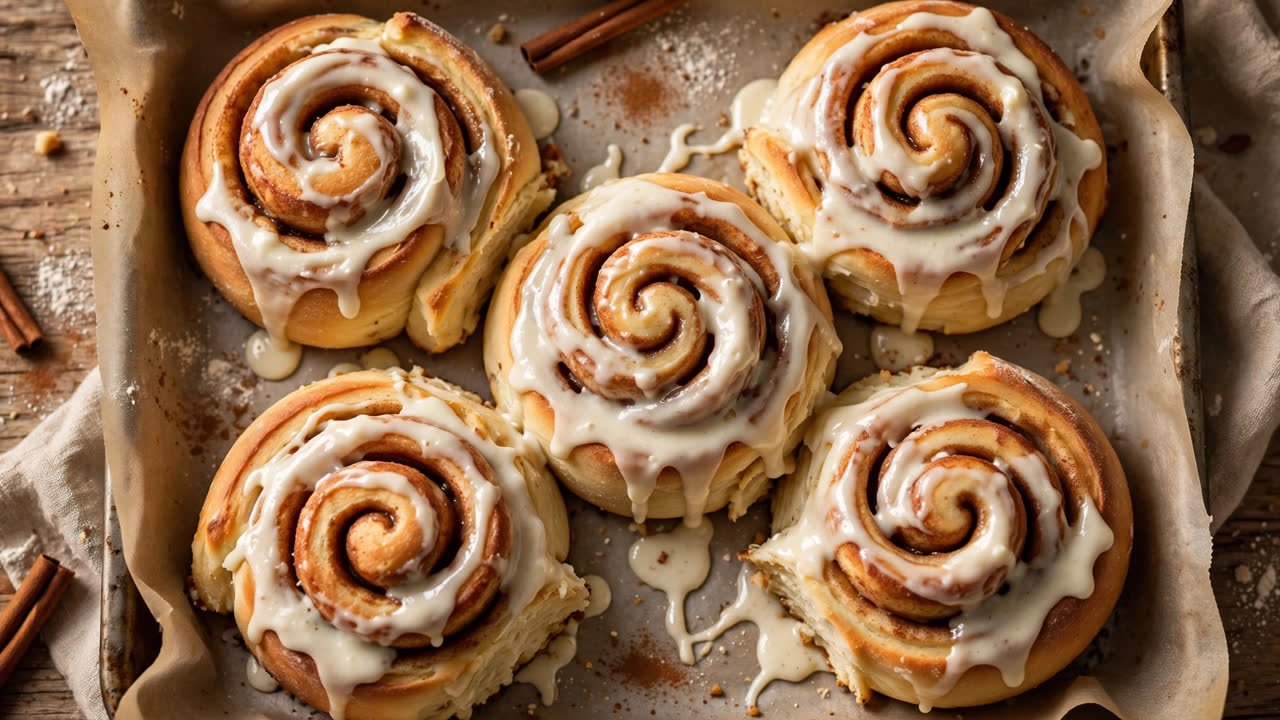
Imagine pulling a pan of golden, pillowy cinnamon rolls from the oven—warm, fragrant, and oozing with sweet cinnamon-sugar filling. That’s exactly what you’ll get when you follow this foolproof guide on how to make fluffy cinnamon rolls. Whether you’re a weekend baker or a first-timer in the kitchen, these cinnamon rolls are soft, tender, and absolutely irresistible. No fancy equipment needed—just simple ingredients, a little patience, and love.

This recipe delivers bakery-quality results at home, with a light, airy dough that rises beautifully and bakes into perfect spirals of comfort. We’ll walk you through every step, from mixing the dough to achieving that ideal gooey center, so you can serve up fresh, homemade cinnamon rolls that rival any coffee shop.

Why These Cinnamon Rolls Are So Fluffy

The secret to truly fluffy cinnamon rolls lies in the dough. It’s all about the right balance of moisture, fat, and leavening. This recipe uses warm milk, melted butter, and active dry yeast to create a tender, elastic dough that doubles in size during proofing. The result? Rolls that are soft, springy, and melt-in-your-mouth delicious.

Unlike dense or dry cinnamon rolls, these rise high and stay moist thanks to a touch of sour cream and an egg for richness. The dough is gently kneaded—just enough to develop gluten without overworking it—so the final texture remains light and airy. When baked, the rolls develop a golden crust while staying incredibly soft inside.

Another key factor is the proofing time. Allowing the dough to rise slowly at room temperature ensures maximum fluffiness. Rushing this step leads to flat, tough rolls. But with a little patience, you’ll be rewarded with cinnamon rolls that are as light as they are flavorful.

Ingredients You’ll Need

You don’t need exotic ingredients to make amazing cinnamon rolls. Everything here is pantry-friendly and easy to find. Here’s what goes into these fluffy cinnamon rolls:

For the Dough:

  • 3 ½ cups (440g) all-purpose flour
  • ¼ cup (50g) granulated sugar
  • 1 packet (2 ¼ tsp) active dry yeast
  • ½ tsp salt
  • ¾ cup (180ml) warm milk (about 110°F)
  • 2 tbsp (30g) unsalted butter, melted
  • 1 large egg, room temperature
  • 2 tbsp (30g) sour cream

For the Filling:

  • ½ cup (115g) unsalted butter, softened
  • ¾ cup (150g) brown sugar, packed
  • 2 tbsp ground cinnamon

For the Glaze (Optional but Recommended):

  • 1 cup (120g) powdered sugar
  • 2 tbsp milk or cream
  • ½ tsp vanilla extract

All measurements are precise to ensure consistent results. Using a kitchen scale for flour and sugar is ideal, but measuring cups work fine if you spoon and level the dry ingredients.

Step-by-Step Instructions

1. Activate the Yeast

In a small bowl, combine the warm milk and yeast. Let it sit for 5–10 minutes until it becomes frothy. This step confirms your yeast is alive and active—essential for a good rise. If it doesn’t bubble, your yeast may be expired, and the dough won’t rise properly.

2. Mix the Dough

In a large mixing bowl or the bowl of a stand mixer, whisk together the flour, sugar, and salt. Add the melted butter, egg, sour cream, and the activated yeast mixture. Mix on low speed (or by hand) until a shaggy dough forms.

Knead the dough for 5–7 minutes by hand or 4–5 minutes with a dough hook until smooth and elastic. The dough should be slightly sticky but not wet. Add a tablespoon of flour at a time if it’s too tacky to handle.

3. First Rise

Place the dough in a lightly greased bowl, cover with a clean kitchen towel or plastic wrap, and let it rise in a warm place for 1–1.5 hours, or until doubled in size. A draft-free spot near a window or on top of the fridge works well.

Pro tip: To speed up rising, place the bowl in a turned-off oven with a bowl of hot water on the bottom rack. The steam creates a cozy, warm environment perfect for yeast activation.

4. Prepare the Filling

While the dough rises, make the filling. In a small bowl, mix the softened butter, brown sugar, and cinnamon until smooth. The butter should be soft but not melted—this ensures it spreads evenly without tearing the dough.

5. Roll and Fill the Dough

Punch down the risen dough to release air bubbles. On a lightly floured surface, roll it into a 16×12-inch rectangle. Spread the cinnamon filling evenly over the surface, leaving a small border around the edges to prevent oozing.

Starting from the long side, tightly roll the dough into a log. Use a sharp knife or unfloured dental floss to cut the log into 12 even slices. Each roll should be about 1.5 inches thick.

6. Second Rise

Place the rolls cut-side up in a greased 9×13-inch baking pan. Cover and let them rise for another 30–45 minutes, or until puffy and nearly doubled. This final proof ensures maximum fluffiness and a soft, tender crumb.

7. Bake to Perfection

Preheat your oven to 375°F (190°C). Bake the cinnamon rolls for 20–25 minutes, or until the tops are golden brown and the centers are set. Avoid overbaking—this keeps the rolls moist and fluffy.

Let the rolls cool in the pan for 10 minutes before glazing. The residual heat continues to cook them slightly, so they’re warm but not raw in the center.

8. Add the Glaze

Whisk together powdered sugar, milk, and vanilla until smooth. Drizzle over the warm rolls just before serving. The glaze soaks into the soft dough, adding a sweet, creamy finish that complements the spicy cinnamon perfectly.

Tips for the Fluffiest Cinnamon Rolls

Achieving that perfect fluffiness isn’t just about the recipe—it’s also about technique. Here are some expert tips to ensure your cinnamon rolls turn out soft, airy, and delicious every time:

  • Use fresh yeast: Check the expiration date. Old yeast won’t activate, and your dough won’t rise.
  • Don’t over-knead: Knead just until the dough is smooth. Overworking it leads to tough rolls.
  • Keep the dough warm: Yeast loves warmth. A cool kitchen slows rising. Use the oven trick if needed.
  • Roll tightly: A tight roll ensures even spirals and prevents gaps in the center.
  • Don’t skip the second rise: This step is crucial for soft, fluffy texture.
  • Bake just until golden: Overbaking dries out the rolls. They should look set but still slightly soft in the center.

Make-Ahead and Storage Tips

These cinnamon rolls are perfect for busy mornings or special occasions. You can prepare them ahead of time in a few different ways:

Refrigerator Method (Overnight Rise):

After placing the shaped rolls in the pan, cover tightly with plastic wrap and refrigerate overnight. In the morning, let them sit at room temperature for 30–45 minutes while the oven preheats. Bake as directed. This method develops deeper flavor and is ideal for weekend brunch.

Freezer Method:

After the second rise, freeze the unbaked rolls in the pan. Once solid, wrap the pan in plastic and foil. To bake, thaw in the refrigerator overnight, then let come to room temperature and bake as usual. You can also freeze baked, unglazed rolls and reheat them in the oven before adding glaze.

Store leftover cinnamon rolls in an airtight container at room temperature for up to 2 days, or in the fridge for up to 5 days. Reheat in the microwave for 20–30 seconds or in a 300°F oven for 5–7 minutes to restore warmth and softness.

Nutritional Information (Per Roll)

Each cinnamon roll (with glaze) contains approximately:

  • Calories: 320
  • Total Fat: 14g
  • Saturated Fat: 8g
  • Cholesterol: 45mg
  • Sodium: 180mg
  • Total Carbohydrates: 47g
  • Dietary Fiber: 1g
  • Sugars: 24g
  • Protein: 5g

These values are estimates and may vary based on ingredient brands and portion sizes. For a lighter version, reduce the butter in the filling or use a cream cheese glaze instead of powdered sugar.

Variations and Customizations

Once you’ve mastered the classic version, feel free to get creative. Here are a few delicious twists on traditional cinnamon rolls:

  • Apple Cinnamon Rolls: Add ½ cup of finely chopped apples to the filling for a fruity, autumnal flavor.
  • Pecan Cinnamon Rolls: Sprinkle chopped pecans over the filling before rolling for a crunchy, nutty texture.
  • Cream Cheese Swirl: Mix 4 oz softened cream cheese with 2 tbsp sugar and swirl it into the filling for a tangy-sweet contrast.
  • Maple Glaze: Replace the vanilla in the glaze with 1 tbsp pure maple syrup for a rich, autumnal finish.
  • Gluten-Free Option: Use a 1:1 gluten-free flour blend. The texture may be slightly different, but still delicious.

Common Mistakes to Avoid

Even experienced bakers can run into issues. Here are some common pitfalls and how to avoid them:

  • Using cold milk: Cold milk won’t activate the yeast. Always use warm milk (110°F)—hot enough to feel warm but not scalding.
  • Overfilling the rolls: Too much filling causes leaks and uneven baking. Stick to the recommended amount.
  • Skipping the rises: Both rises are essential. Skipping or rushing them leads to dense, flat rolls.
  • Baking in a cold oven: Always preheat. A cold oven prevents proper rising during baking.
  • Cutting with a dull knife: Use a sharp knife or dental floss to get clean, even slices without squishing the dough.

Frequently Asked Questions

Can I make these cinnamon rolls without a stand mixer?

Absolutely! You can mix and knead the dough by hand. It takes about 8–10 minutes of kneading to develop the gluten. Use a large bowl and your hands—just be patient and keep folding and pressing the dough.

Why didn’t my cinnamon rolls rise?

The most common reasons are expired yeast, cold milk, or a drafty kitchen. Make sure your yeast is fresh, your milk is warm (not hot), and the dough is rising in a warm, draft-free spot. If the dough hasn’t doubled after 1.5 hours, it may need more time or a warmer environment.

Can I use instant yeast instead of active dry?

Yes! You can substitute instant yeast 1:1. You don’t need to activate it in warm water first—just mix it directly into the dry ingredients. The rising time may be slightly shorter.

Key Takeaways

Making fluffy cinnamon rolls at home is easier than you think. With the right ingredients, proper technique, and a little patience, you can create soft, aromatic rolls that are perfect for breakfast, brunch, or a sweet treat any time of day.

Remember: use fresh yeast, don’t rush the rises, and bake just until golden. The result will be cinnamon rolls that are tender, moist, and absolutely irresistible. Whether you enjoy them plain, with glaze, or loaded with nuts and fruit, these homemade rolls are sure to become a family favorite.

Now that you know how to make fluffy cinnamon rolls, it’s time to preheat the oven and get baking. Your kitchen is about to smell amazing—and your taste buds will thank you.

Similar Posts

Leave a Reply

Your email address will not be published. Required fields are marked *