
How to Tell if Yeast is Active or Dead before You Start Baking
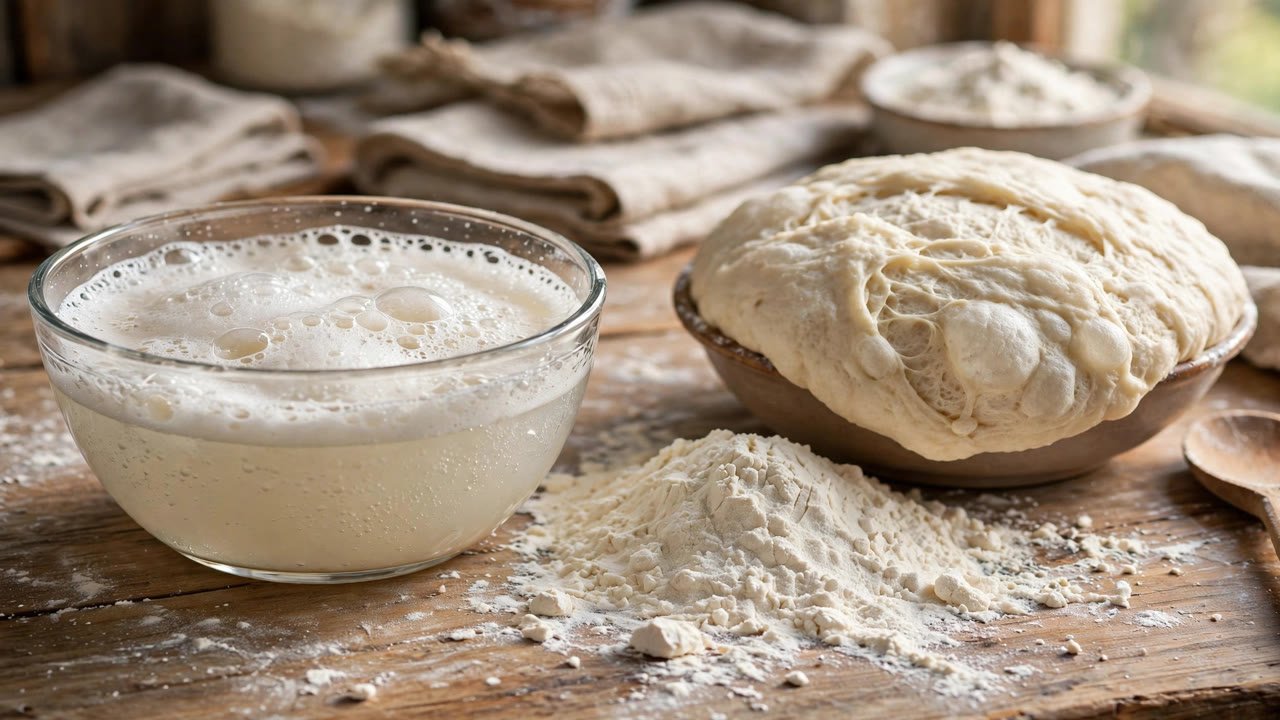
Nothing is more frustrating than spending time mixing dough only to discover your bread will not rise. The culprit is often yeast that was dead before you even started. Learning how to test yeast takes less than ten minutes and saves you from wasted ingredients.
Yeast is a living organism, and like any living thing, it can die if stored improperly or kept too long. The good news is that a simple water test reveals whether your yeast is ready to work. This guide walks you through the process step by step.
Why Testing Yeast Matters
Active yeast produces carbon dioxide, which creates the bubbles that make dough rise. Dead yeast does nothing, leaving you with a dense and flat loaf. Testing first gives you confidence before you commit flour, time, and effort.
The Simple Water Test
This method is called proofing, and it works for active dry yeast. You will need warm water, a pinch of sugar, and your yeast. The whole process takes about ten minutes.
Step 1: Warm the Water
Heat half a cup of water to between 100 and 110 degrees Fahrenheit. The water should feel warm to the touch, not hot. Water hotter than 120 degrees will kill the yeast instantly.
Step 2: Add Sugar and Yeast
Stir one teaspoon of sugar into the warm water until it dissolves. Sprinkle one packet of yeast over the surface. Let it sit undisturbed for one minute, then stir gently.
Step 3: Wait and Observe
Set a timer for five to ten minutes and watch the mixture. Active yeast will become foamy and expand, sometimes doubling in volume. If nothing happens, the yeast is dead and should be discarded.
Signs Your Yeast Is Active
Active yeast gives clear visual cues. Look for these signs after the ten minute wait.
- A thick layer of foam on the surface
- Bubbles rising through the liquid
- A yeasty, slightly sweet smell
- The mixture has expanded in volume
Signs Your Yeast Is Dead
Dead yeast shows no activity. If you observe these signs, start with a fresh packet.
- The water remains flat with no bubbles
- No foam forms on the surface
- The yeast sinks and stays at the bottom
- A sour or off smell instead of yeasty
How to Store Yeast for Maximum Freshness
Proper storage extends the life of your yeast significantly. Keep unopened packets in a cool, dry place until the expiration date. Once opened, transfer the yeast to an airtight container.
Store the container in the refrigerator for up to four months, or in the freezer for up to twelve months. Always let refrigerated yeast come to room temperature before proofing. Label the container with the date you opened it.
Frequently Asked Questions
What water temperature is best for proofing yeast?
The ideal range is 100 to 110 degrees Fahrenheit. This warmth wakes the yeast without damaging it. Use a kitchen thermometer for accuracy, as guessing can lead to water that is too hot or too cold.
Can I proof yeast without sugar?
Yes, but sugar speeds up the process and makes the bubbles easier to see. The sugar gives the yeast food to start fermenting quickly. Without sugar, you may need to wait a few extra minutes for visible activity.
How long does yeast last in the freezer?
Yeast stored in an airtight container in the freezer stays viable for up to twelve months. Beyond that, the yeast cells may degrade and lose potency. Always proof older yeast before using it in a recipe.
Is it safe to use yeast past its expiration date?
It can be safe, but the yeast may be less potent. The expiration date is a guideline, not a strict rule. Always do the water test first, and if the yeast proofs successfully, it is safe to use.
Testing yeast is a small habit that prevents big baking disappointments. Keep this guide handy and proof your yeast every time you bake. For more kitchen confidence, explore our Homemade Italian Lasagna and Creamy Alfredo Pasta recipes. For deeper baking science, visit King Arthur Baking for expert guides.
About the Author
Luke is the home cook and writer behind Lumomint Foods. He spends his time testing comforting, practical recipes from around the world and writing them up in plain, easy language for everyday cooks.